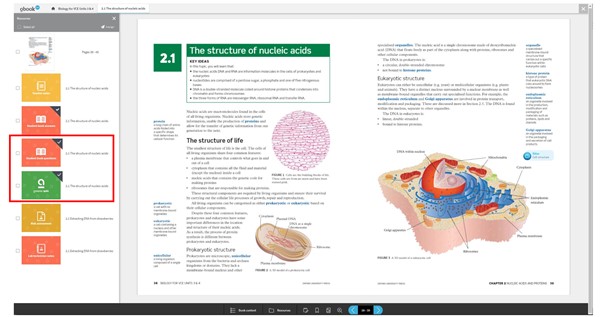
1. Open the Resources pane by clicking on the Resources icon in the toolbar. The Resources pane will open on the left of the screen.
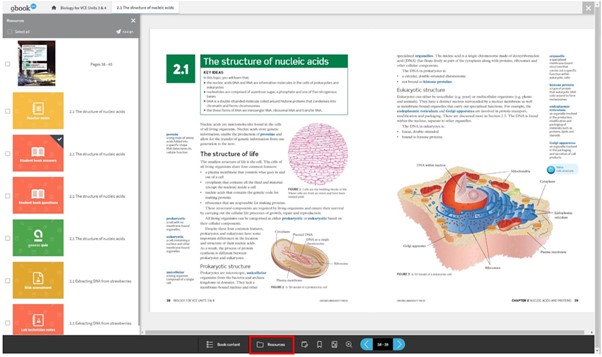
2. Select the resources by clicking on the check boxes next to the resource tiles or on the Select all check box. The ‘tally’ of all resources selected (next to the paper plane Assign icon) will match the number of selections you make.
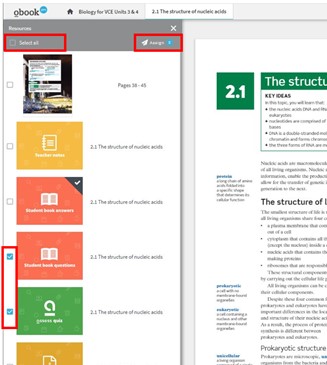
3. Click the Assign icon. You should now see the date selection screen. Today’s date is underlined.
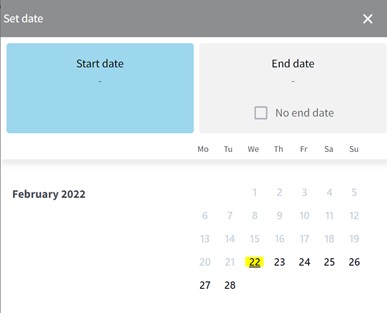
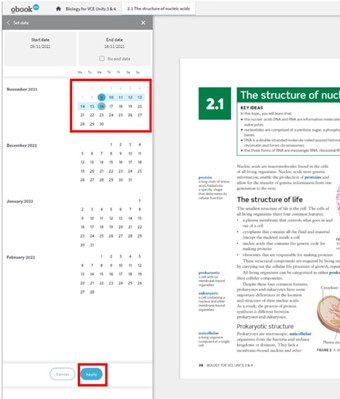
4. Select a start date and end date. The days between the start and end dates of your assignment are now highlighted blue in the calendar. You should now see the Apply button appear at the bottom of the menu. Click Apply.
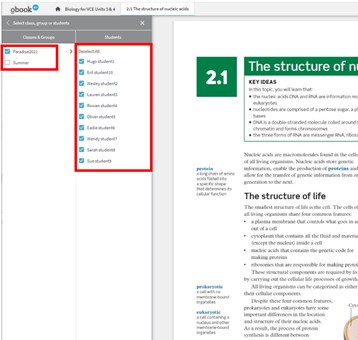
5. Select a class. All students in that class will now appear in the column on the right. All students have been selected by default. You can click on the check boxes to deselect students. Click the Apply button at the bottom of the pane and you will be navigated to a confirmation screen.
6. You can edit the details by clicking on the edit icon in either the ‘Assignment Date’ or ‘Assigned to’ section, and change either the due date or who the assignment is assigned to.
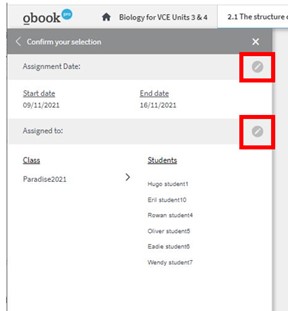
7. Save your changes by clicking on the Apply button to navigate back to the confirmation screen. The confirmation screen has been updated to reflect your edit.
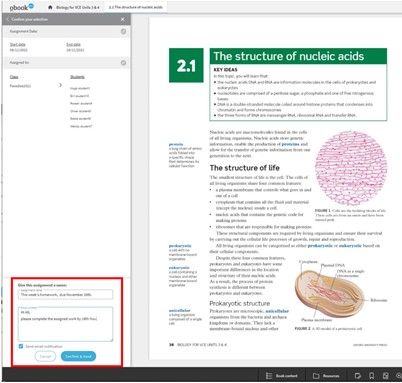
8. Select the Send email notification check box. Write a subject line and short message to your student/s. Click on the Confirm & Send button.
9. You will see this confirmation message. Click the Done button.
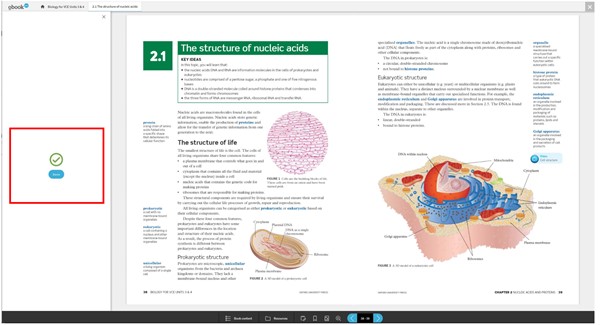
10. When you click the Done button you will be navigated back to the Resources pane.
